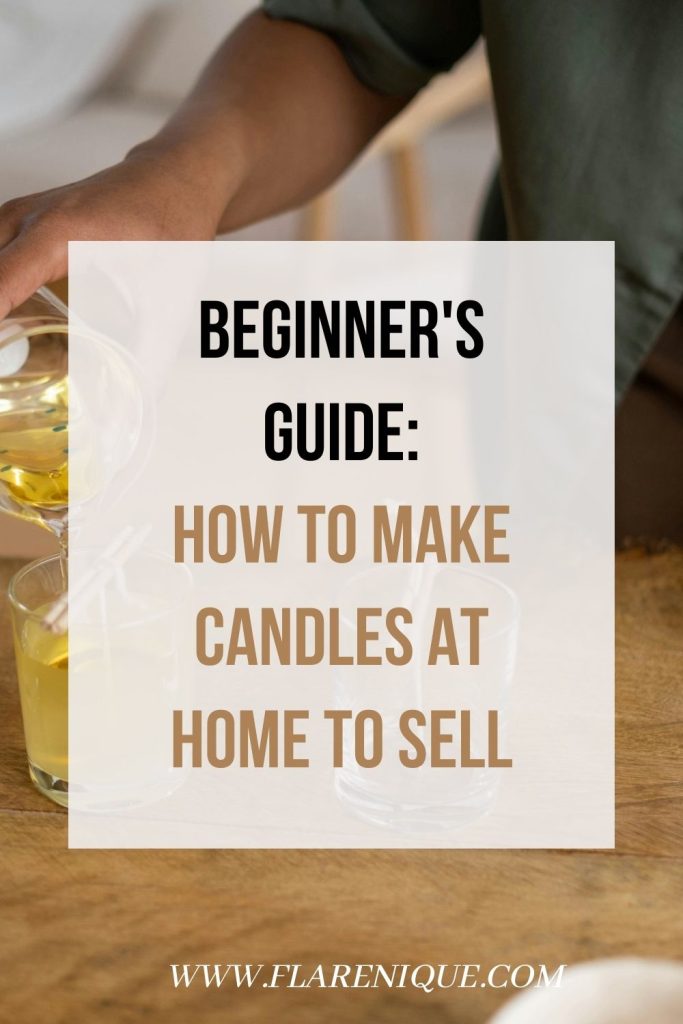

If you’ve been thinking about starting a candle business, you’re probably asking yourself: How do I make candles at home to sell? What supplies do I need? How can I create scented candles that customers will love? Making homemade candles is easier than it looks, and with a little practice, you can create beautiful diy candles that are perfect for gifts, décor, or selling online.
Affiliate Disclosure: This article contains affiliate links which means we may earn a commission at no extra cost to you. You can check our affiliate disclosure page here.
This guide walks you through step-by-step instructions, materials, safety tips, and business-minded advice for turning your candle-making hobby into a small business.
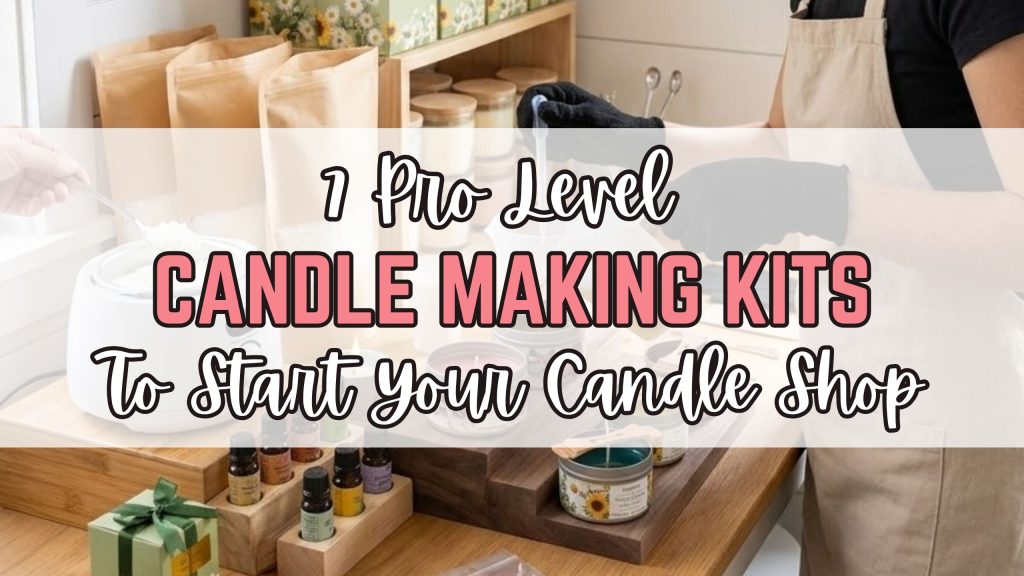
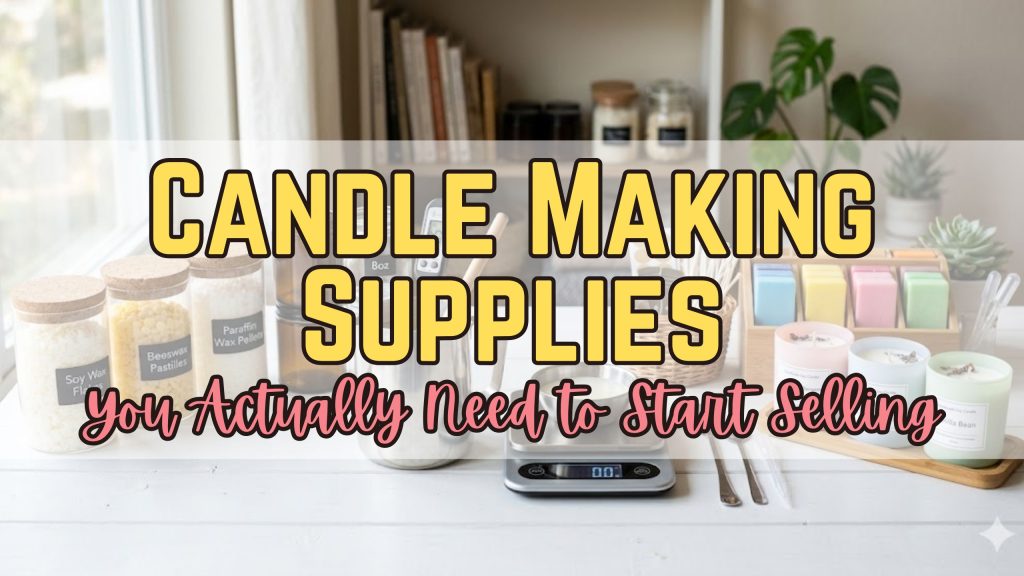
Materials You’ll Need

You can also get the supplies seperately:
-
Soy Wax or Beeswax (Affiliate link)
A clean-burning wax that’s perfect for scented candles and diy candles. Soy wax is beginner-friendly and holds fragrance well. -
Candle Wicks
Choose pre-tabbed cotton or wooden wicks according to the container size. The right wick ensures an even burn. -
Fragrance Oils for Candles
Designed for candle use, these oils give your homemade candles a strong and pleasant scent. -
Containers or Candle Molds
Heat-safe glass jars, tins, or silicone molds. Using molds is a fun way to make shaped candles for selling. -
Color Dyes or Pigments (Optional)
For visually appealing diy candles. Use candle-safe dyes. -
Double Boiler or Heatproof Bowl + Pot
For safely melting wax. -
Thermometer
Helps you control temperature for optimal scent throw. -
Wick Stickers, Glue Dots, or Clips
To secure wicks in place while pouring wax.
Step-by-Step Instructions
1. Prepare Your Workspace and Containers
Make sure your containers or molds are clean and dry. Secure the wick in the center with a wick sticker or glue. Use a centering tool or chopsticks to keep it upright.
2. Measure and Melt the Wax
Measure wax based on your container or mold size. Melt slowly using a double boiler, stirring occasionally, until completely liquid (around 170–180°F for soy wax).
3. Add Fragrance Oils
Remove from heat and allow wax to cool slightly to the recommended temperature for fragrance addition (usually 160–175°F). Add 6–10% fragrance oil by weight and stir gently but thoroughly.
Related: DIY Candle Scents: Natural Alternatives to Fragrance Oils
4. Pour the Wax
Pour the wax slowly into the container or mold, leaving about half an inch at the top. Keep the wick centered.
5. Let Candles Set
Allow candles to cool undisturbed for 24 hours. Avoid moving them to prevent cracks or sinkholes.
6. Trim the Wick and Cure
Trim the wick to about ¼ inch. Allow candles to cure 3–7 days before selling — this ensures optimal scent throw and burn quality.
Related: How To Make DIY Candle Wicks That Burn Perfectly Everytime
Common Mistakes to Avoid
-
Incorrect wick size – causes uneven burn or tunneling.
-
Adding fragrance at the wrong temperature – results in weak scent throw.
-
Overheating wax – can scorch wax or fragrance oils.
-
Moving candles while setting – creates sinkholes and cracks.
-
Skipping curing time – affects scent strength and burn performance.
Tips & Variations
-
Create signature scent blends for your diy candles to stand out in the market.
-
Experiment with layered colors or unique shapes using molds for visually appealing candles.
-
Wooden wicks add a crackling sound and premium feel.
-
Test small batches before mass production to perfect scent and burn quality.
-
Consider eco-friendly packaging for better customer appeal.
Safety & Best Practices
-
Always melt wax using a double boiler, never direct heat.
-
Keep flammable materials away from workspace.
-
Trim wicks before every burn to avoid soot.
-
Never leave burning candles unattended.
-
Test burn every new recipe before selling to ensure safety and quality.
With these steps, you can confidently make candles at home to sell. By paying attention to scent, quality, and presentation, your homemade candles can become desirable products for gifts, home décor, or online shops. Starting small and refining your diy candles will help you grow a professional candle business from home.
Frequently Asked Questions
1. Do I need a business license to sell homemade candles?
Yes. Even for small craft sales, you generally need a local business license and an EIN for tax purposes. Check your state’s specific requirements for home-based craft businesses.
2. What are the mandatory labeling requirements for selling candles?
Legally, your label must include the product name, your business name and location, and the net weight. You also must include a permanent safety warning label on the bottom.
3. How do I determine the right price for my candles?
Calculate your total material costs, packaging, and labor, then multiply by two for a wholesale price or three to four for a retail price to ensure a healthy profit.
4. Why is insurance important for a candle business?
Candles are a fire hazard. Product liability insurance protects you if a customer claims your candle caused property damage or injury, which is essential for any professional seller.
5. How can I make my candles stand out in a crowded market?
Focus on a specific niche, such as eco-friendly ingredients, unique container styles, or custom scent blends. High-quality branding and consistent social media presence are key to attracting loyal customers.