This guide walks you through everything step by step — no complicated tools, no advanced skills required.
Affiliate Disclosure: This article contains affiliate links which means we may earn a commission at no extra cost to you. You can check our affiliate disclosure page here.
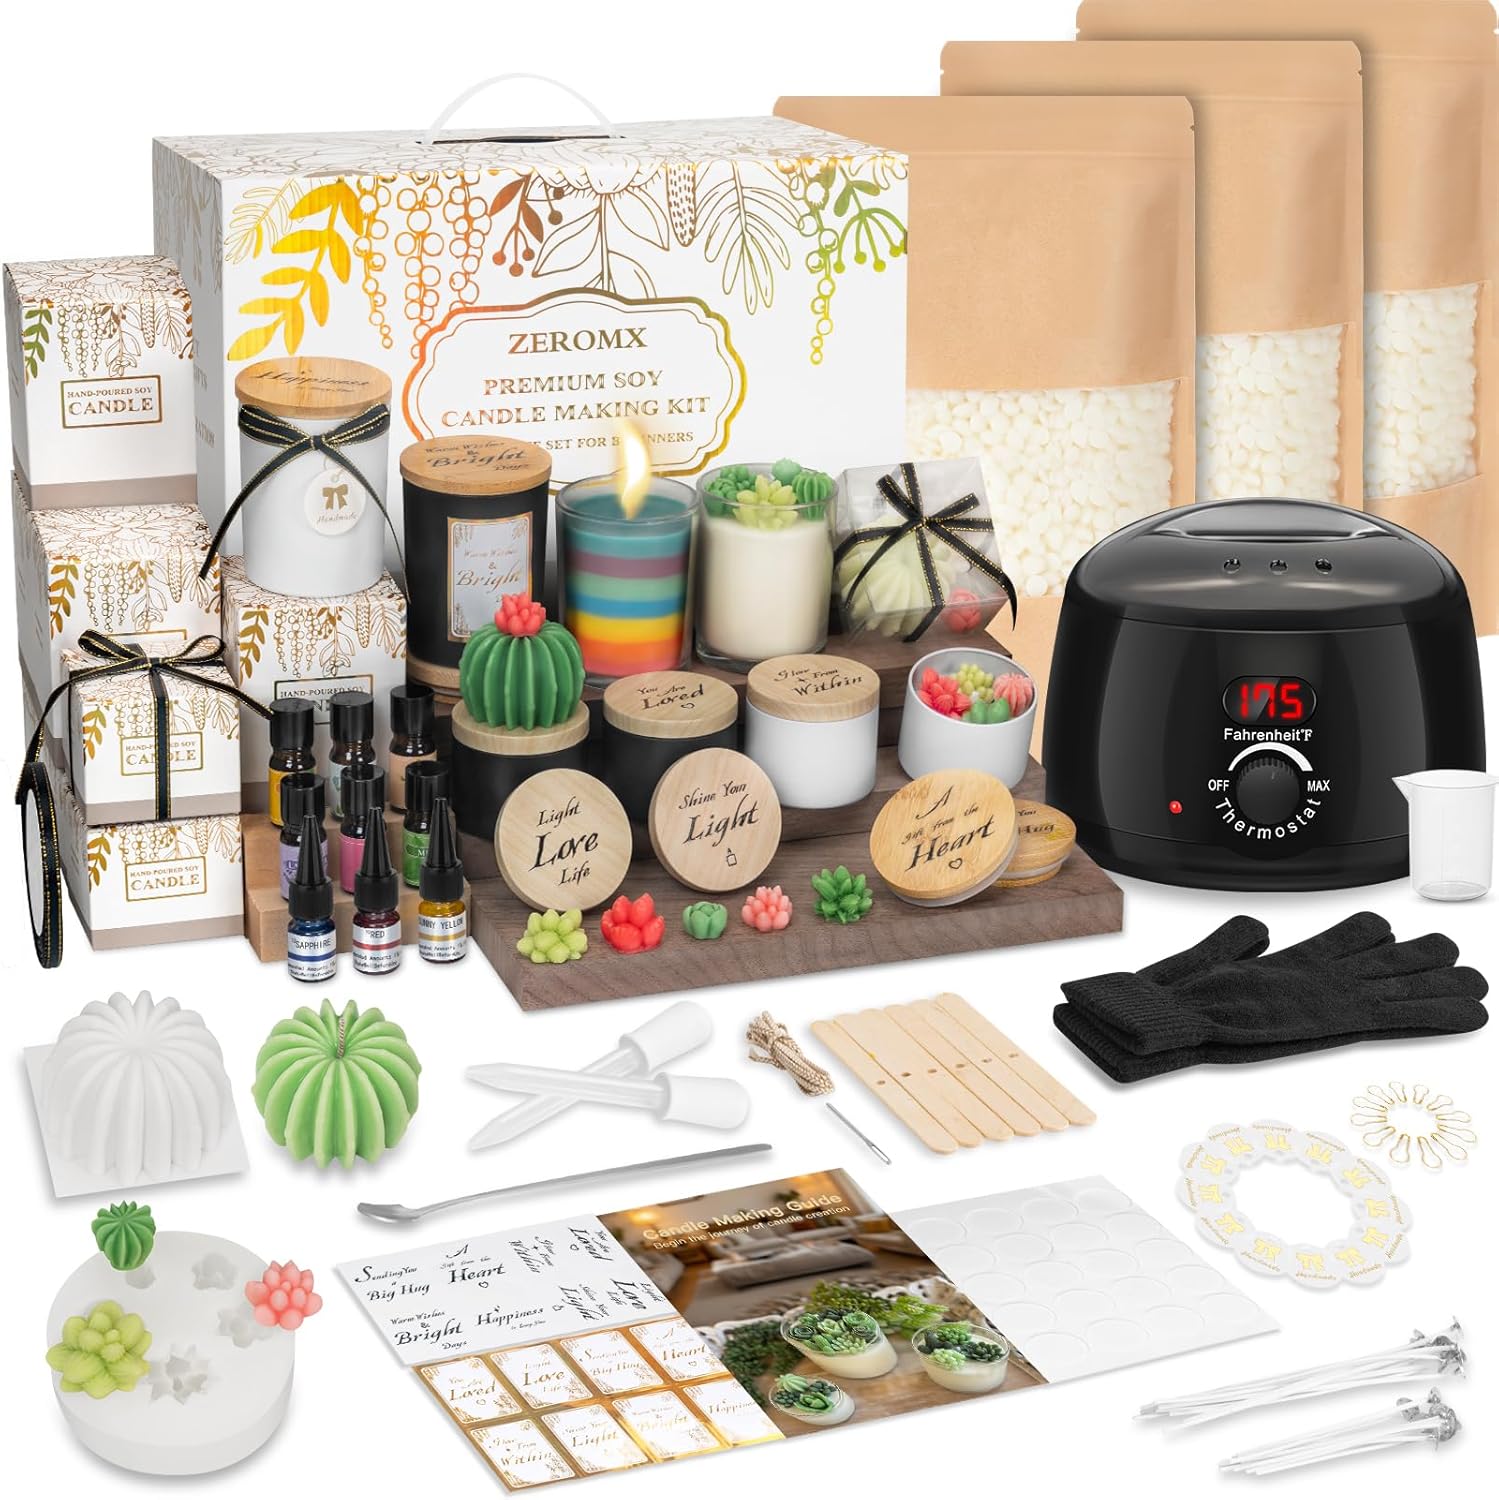
Best Valued Beginners Candle Making Kit
-
Soy Wax Flakes
A beginner-friendly wax that melts evenly and holds fragrance well. Soy wax is clean-burning and ideal for diy candle making. -
Candle Wicks
Choose pre-tabbed cotton wicks sized according to your container diameter. Proper wick size ensures even burning. -
Fragrance Oil for Candles
Specifically made for scented candles. Avoid essential oils unless they are labeled safe for candle use. -
Glass Containers or Metal Containers
Heat-safe jars, tins, or ceramic containers work best. Mason jars are perfect for beginners. -
Wick Stickers or Hot Glue
Used to secure the wick at the bottom of the container. -
Wick Centering Tool or Chopsticks
Keeps the wick straight while the wax sets. -
Double Boiler or Heatproof Bowl + Pot
For safely melting wax without direct heat. -
Thermometer
Helps you monitor temperature so fragrance blends properly.
Step-by-Step Instructions
1. Prepare Your Containers
Clean and completely dry your jars. Secure the wick to the bottom center using a wick sticker or a small amount of hot glue. Make sure it stands upright.
2. Measure and Melt the Wax
Measure about double the volume of your container in wax flakes. Melt using a double boiler over medium heat, stirring occasionally until fully liquefied.
Related: How to Make Candles at Home without Wax
3. Check the Temperature
Once melted, remove from heat and let it cool slightly. Most fragrance oils should be added around 170–180°F (75–82°C), but always check your wax instructions.
4. Add Fragrance Oil
Add fragrance oil according to the recommended percentage (usually 6–10% of wax weight). Stir slowly for 1–2 minutes to ensure the scent binds properly to the wax. This step is crucial for strong home fragrances.
Related: DIY Candle Scents: Natural Alternatives to Fragrance Oils
5. Pour the Wax
Carefully pour the wax into your prepared container. Leave a small space at the top. Hold the wick centered using a centering tool or chopsticks.
6. Let It Set
Allow the candle to cool undisturbed for 24 hours. Do not move it while setting to avoid cracks or sinkholes.
7. Trim the Wick
Once fully hardened, trim the wick to about ¼ inch. Your first scented candles are now ready — though curing for 3–5 days improves scent throw.
Related: How To Make DIY Candle Wicks That Burn Perfectly Everytime
Common Mistakes to Avoid
-
Using the wrong wick size – Causes tunneling or excessive smoke.
-
Adding fragrance at the wrong temperature – Weak scent throw happens fast.
-
Overheating the wax – Can damage wax quality and fragrance performance.
-
Moving candles while cooling – Leads to uneven tops and cracks.
-
Skipping curing time – Fresh candles often smell weaker when burned immediately.
Tips & Variations
-
Try layering different scents for custom home fragrances.
-
Add natural dried flowers only on top (never throughout the wax for safety).
-
Use wooden wicks for a soft crackling sound.
-
Experiment with dye chips for subtle color variations.
-
Start with small batches when testing new fragrance blends in diy candle making.
Safety & Best Practices
-
Never melt wax directly on a stove without a double boiler.
-
Keep water away from melted wax.
-
Always burn candles on heat-resistant surfaces.
-
Trim the wick before every burn.
-
Never leave a burning candle unattended.
Candle making is relaxing, creative, and surprisingly rewarding. Once you learn how to make candles at home for beginners, you can customize scents, containers, and styles to match your space or brand. With practice, your diy candle making skills will improve, and your scented candles can become beautiful additions to your home fragrances collection.
Frequently Asked Questions
1. What is the best wax for candle making beginners?
Soy wax is the best choice for beginners. It’s affordable, easy to work with, and clean-burning, making it much more forgiving than paraffin or beeswax for your first projects.
2. Why does my finished candle have a weak scent?
This usually happens if the fragrance oil was added at the wrong temperature or not stirred long enough. Adding oil at 170–180°F ensures it binds properly to the wax.
3. Do I really need a thermometer for DIY candles?
Yes. Temperature control is critical. Adding fragrance when the wax is too hot can burn off the scent, while adding it when too cool prevents proper blending and curing.
4. How long should I let my homemade candles cure?
While they look ready after 24 hours, curing for 3 to 5 days allows the fragrance to fully bond with the wax, resulting in a much stronger scent throw.
5. Can I use essential oils instead of fragrance oils?
Use caution. Not all essential oils are safe for high heat. For consistent, safe results and a strong scent, it is better to use oils specifically formulated for candle making.