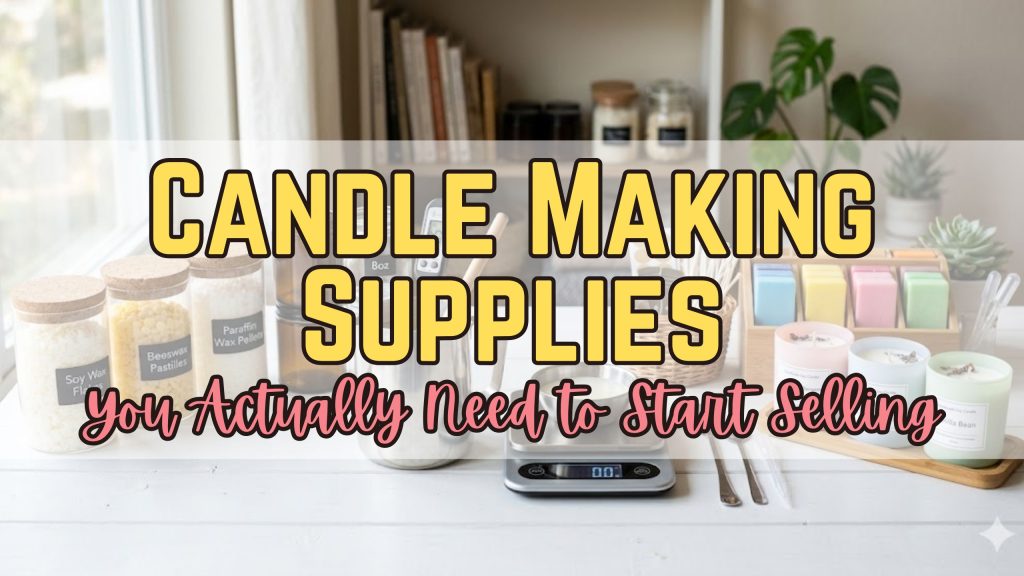
The truth is, you don’t need every shiny tool on the market to create a professional, high-quality product. This guide is designed to cut through the noise and give you a clear candle making supplies list so you can spend less time guessing and more time creating. We’ll break down what’s essential, what’s optional, and how to choose the best tools to get your candle business startup off the ground.
Affiliate Disclosure: This article contains affiliate links which means we may earn a commission at no extra cost to you. You can check our affiliate disclosure page here.
List of Supplies You Need
1) Candle Wax
The wax is the “body” of your candle, and choosing the right one is the biggest decision you’ll make for your candle business supplies.
-
Soy Wax: Made from hydrogenated soybean oil, this is a top choice for beginner candle making supplies.
-
Pros: It’s renewable, burns slowly, and has a “clean” reputation that customers love.
-
Cons: It can sometimes have a bumpy surface when it cools.
-
Who should use it: Anyone wanting to market “all-natural” or eco-friendly candles.
-
-
Beeswax: A natural byproduct of honey production.
-
Pros: It has a gorgeous natural honey scent and the longest burn time.
-
Cons: It’s the most expensive option and can be tricky to scent.
-
Who should use it: Luxury brands focusing on pure, high-end ingredients.
-
-
Paraffin Wax: The traditional choice for many big-name brands.
-
Pros: It holds scent incredibly well and is very affordable.
-
Cons: It’s a petroleum byproduct, which some “green” shoppers avoid.
-
Who should use it: Makers who want the strongest possible scent throw at a low cost.
-
-
Coconut Wax: A newer, “trendy” wax made from coconut oil.
-
Pros: It’s very creamy, holds a lot of fragrance, and burns beautifully.
-
Cons: It’s soft, so it’s usually blended with other waxes to stay firm.
-
Who should use it: Makers looking for a “premium” or boutique feel.
-
2) Candle Wicks
If wax is the body, the wick is the “engine.” What you need to make candles that burn safely and evenly is the right size wick.
-
Cotton Wicks: These are the standard twisted or braided fibers. They are very reliable and easy to light.
-
Wooden Wicks: These give off a nostalgic “crackle” sound like a tiny fireplace. They look very modern and upscale in jars.
Beginner Tip: Always buy a “sample pack.” Wicks are not one-size-fits-all; you have to test them to see which one burns best with your specific wax and jar size to avoid “tunneling” (where the wax doesn’t melt all the way to the edges).
3) Fragrance Oils
Scent is usually the #1 reason people buy candles! When starting candle making, ensure you buy “Candle Grade” oils. Essential oils are great for diffusers, but they often don’t smell very strong when burned in wax. Look for high-quality fragrance oils to ensure your diy candles smell just as good as the ones in the store.
Related:
4) Candle Dyes
This is how you give your candles personality. You can use liquid dyes (very concentrated) or dye chips (easier to handle).
-
Why it’s needed: To match the color to the scent (like yellow for lemon).
-
Beginner Tip: A little goes a long way! Start with just a drop or two; you can always add more, but you can’t take it out.
Related:
5) Pouring Pitcher
-
What it is: Pouring Pitcher is a heat-safe metal pot with a handle and a spout.
-
Why it’s needed: This is where you melt your wax using a “double boiler” method.
-
Beginner Tip: Get one with a high-quality pouring spout to avoid messy drips on your jars.
6) Digital Thermometer
-
What it is: A Digital Thermometer tool to measure the exact temperature of your wax.
-
Why it’s needed: Adding fragrance at the wrong temperature can ruin your scent throw.
-
Beginner Tip: Don’t guess! Aim for the temperature recommended by your wax supplier (usually around 185°F for adding scent).
7) Digital Scale
-
What it is: A Digital Scale scale that measures in grams and ounces.
-
Why it’s needed: How to start candle making professionally means using weight, not volume. 1lb of wax is not the same as 1lb of water!
-
Beginner Tip: Measure everything by weight (even your fragrance oil) for consistent results every time.
8) Stirring Tools
-
What it is: Silicone spatulas or metal spoons.
-
Why it’s needed: To thoroughly mix the fragrance and dye into the melted wax.
-
Beginner Tip: Avoid wooden spoons; they can hold onto old scents and moisture.
9) Wick Centering Tool
-
What it is: A Wick Centering Tool is a small metal or wood bar that sits across the top of your jar.
-
Why it’s needed: It holds the wick perfectly straight while the wax hardens.
-
Beginner Tip: In a pinch, you can use two popsicle sticks taped together or even a clothespin!
10) Heat Gun
-
What it is: Heat Gun is a tool that blows very hot air.
-
Why it’s needed: It’s the secret weapon for fixing “sinkholes” or bumpy tops after the candle has cooled.
-
Beginner Tip: Pass it quickly over the surface of the candle to melt the very top layer for a smooth, professional finish.
11) Candle Jars & Tins
-
What it is: The containers your candles live in.
-
Why it’s needed: To hold the wax! Tins are great for shipping because they don’t break, while glass jars look more “luxe.”
-
Beginner Tip: Ensure your containers are “candle safe.” Ordinary glass can crack under the heat of a flame.
12) Wick Stickers
-
What it is: Wick Stickers are Double-sided, heat-resistant sticky dots.
-
Why it’s needed: To keep the wick from sliding around when you pour the hot wax.
-
Beginner Tip: Press the wick down firmly in the center of the jar before you pour!
13) Warning Labels
-
What it is: Warning Labels are safety stickers for the bottom of your jars.
-
Why it’s needed: This is a must-have for any candle making equipment list if you want to look professional. It protects you and your customers.
-
Beginner Tip: You can buy these in bulk very cheaply online.
Must-Haves vs. Optional
The Must-Haves (The “Startup” Kit):
1. Wax
2. Wicks
3. Fragrance
4. Pitcher
5. Thermometer
6. Scale
7. Jars
8. Wick Stickers
The Optional (Nice to have later):
1. Dyes (you can make white candles!)
2. Heat Gun (you can use a hairdryer on low)
3. Specialized stirring tools (a dedicated kitchen spoon works)
4. Professional wick centering tools
5. Warning Labels
Bonus Recommendation: Beginner Candle Making Kit
Before you start buying everything separately, there’s one option that can make things much easier.
If you’re completely new, a candle making starter kit can be a great way to begin. It usually includes most of the basics like wax, wicks, fragrance oils, and simple tools — so you don’t have to figure everything out one by one.
It’s especially helpful if you want to:
- start quickly without researching every item
- practice candle making first
- avoid missing important supplies
You get it in much less price compared to buying each supply seperately.

Once you get comfortable, you can always upgrade to better or more specific supplies based on your style and business goals.
Related:
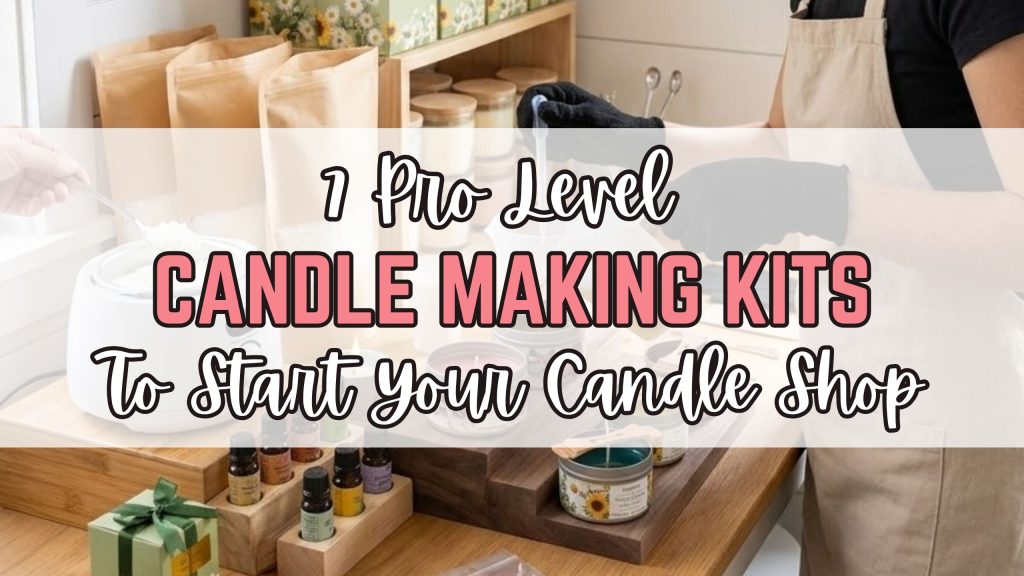
7 Pro Level Candle Making Kits to Start Your Candle Shop
Start Simple
The biggest mistake beginners make is trying to buy everything at once. My best advice? Pick one type of wax, one jar, and three scents. Master those first! Once you feel confident, you can expand your equipments for candle making. The most important thing is to just start. Your first candle might not be perfect, but it’s the first step to building the business of your dreams. Happy making!
Related Articles: